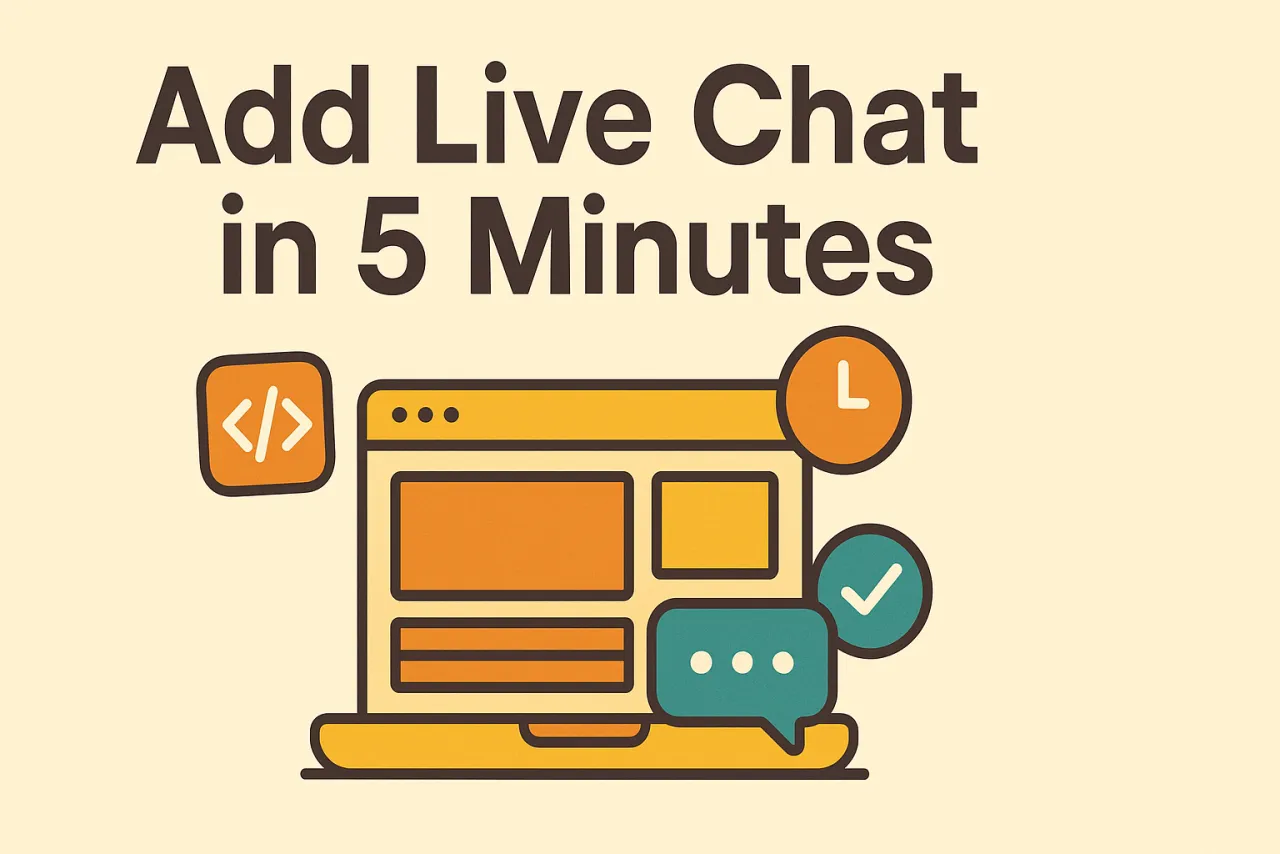
How to Add a Live Chat Widget to Your Website in 5 Minutes
A live chat widget can be embedded into any website with a single snippet of code. This guide covers the full installation steps, common issues, and buying advice — no technical background required.
TL;DR — Adding a live chat widget to any website takes 4 steps: create an account → copy a JavaScript snippet → paste it into your site → refresh to verify. No coding knowledge required. The whole thing takes under 5 minutes.
How many visitors browse your site for a few minutes and then quietly close the tab — without leaving any contact information, without asking a single question?
A live chat widget exists to solve exactly this problem. One snippet of code embedded in your site, and visitors can open a chat bubble in the bottom corner to talk with support in real time — no page redirect, no app download required.
Installation Steps (Universal Process)
Regardless of which live chat software you use, the installation process is essentially the same:
Step 1: Sign Up and Log In
Go to your chosen platform's website and create an account. A good platform doesn't require business registration or identity verification — an email address and password is all you need to get into the dashboard within minutes.
Step 2: Create a Chat Channel
In the dashboard, go to "Conversations" or "Channels" settings and create a new chat link. The system will automatically generate a JavaScript embed code.
Step 3: Copy the Embed Code
The code typically looks like this:
<script>
(function(d,t) {
  var BASE_URL="https://your-domain.com";
  var g=d.createElement(t),s=d.getElementsByTagName(t)[0];
  g.src=BASE_URL+"/sdk.js";
  g.defer = true;
  g.async = true;
  s.parentNode.insertBefore(g,s);
  g.onload=function(){
    window.ChatWidget.init({
      baseUrl: BASE_URL,
      // lang: 'en'  // optional: 'zh-CN' | 'zh-TW' | 'en'
    });
  }
})(document,"script");
</script>
Note the async attribute — this ensures the widget loads asynchronously and doesn't block page rendering, leaving your Lighthouse score unaffected.
Step 4: Paste It Into Your Site
Paste the code just before the </body> tag (or inside <head>) on every page of your site.
Where to paste it on common platforms:
| Platform | Where to paste |
|---|---|
| WordPress | Appearance → Theme File Editor → footer.php, or use the "Insert Headers and Footers" plugin |
| Shopify | Online Store → Themes → Edit Code → end of theme.liquid |
| Plain HTML site | Directly before </body> in each .html file |
| Webflow | Project Settings → Custom Code → Footer Code |
| Wix | Settings → Advanced → Custom Code |
| Next.js / React | Add to _document.tsx or layout.tsx at the end of <body> |
Step 5: Verify the Installation
Save your changes and refresh your website. A chat bubble icon should appear in the bottom corner. Click it, send a test message, and confirm it arrives in the agent dashboard — the whole verification takes under 2 minutes.
Three Must-Do Configurations After Installation
Installing the widget is just the start. These three settings directly determine how well it performs:
Triggers: Turn Passive Waiting Into Proactive Outreach
By default, visitors only start a chat by clicking the bubble themselves. But most visitors won't initiate — they'll leave while hesitating.
Triggers change that. Three of the most effective:
- Automatically greet visitors who have been on the pricing page for 30 seconds (highest purchase intent)
- Trigger when a visitor is about to leave the page (one last chance to engage)
- Trigger when a visitor has viewed the site 3+ times without signing up (returning visitor with interest but hesitation)
Proactive outreach typically converts far better than waiting passively.
Pre-Chat Form: Capture Leads vs. Reduce Friction
Requiring visitors to enter their name and email before chatting ensures you don't lose their contact details if agents are offline. The tradeoff is an extra step — the percentage of visitors who start a chat will drop.
How to decide:
- Sales-driven business → enable the pre-chat form; leads matter more than chat volume
- Immediate support context → disable it or make fields optional; reducing friction is the priority
Offline State: What Happens When Agents Log Off
Three options, ranked by effectiveness:
- Switch to AI bot auto-replies — 24/7 coverage, no inquiry gets lost overnight (requires platform AI support)
- Show offline message + leave-a-message form — visitors leave contact details; agents follow up when back online
- Hide the chat button — best for teams that only want to show support during fixed hours
Four Things to Confirm Before Buying
Live chat tools range from free to thousands per month. Verify these four points before paying:
① Does it work with your platform?
Prefer vendors that provide a universal JS snippet — it's compatible with any website and doesn't depend on a specific plugin ecosystem. Actually install it on your real site; don't just look at screenshots.
② What do you need to submit to sign up?
Some platforms require business registration documents, government-issued ID, or industry certifications. If you need to launch fast, choose a platform that lets you sign up with just an email — no KYC required.
③ Where is your data stored?
Which country are conversation records stored in? Does it comply with your regional requirements? Cross-border businesses should ask this explicitly.
④ Per-seat pricing or per-conversation pricing?
Per-seat pricing is easier to budget; per-conversation pricing can spike sharply during campaigns and promotions — calculate what peak volume would actually cost you.
Three Things to Test During the Trial
Every platform looks good in a demo. The trial period is your real test.
Test stability: Have 3–5 people message you simultaneously and look for delays or lost messages. Concurrent handling capacity under load is what actually matters.
Test multilingual support (if needed): Have someone send messages in English or another language you'll serve. Check whether translation quality meets your practical needs. Don't only test in your primary language.
Test the handoff to human agents: When the AI can't answer, is the transfer to a human smooth? How long do users wait? This directly shapes the overall impression users have of your support.
FAQ
Will a live chat widget slow down my website?
No. A well-built widget loads asynchronously (the async attribute), so it doesn't block page rendering. The impact on load time is typically under 50–100ms, and Lighthouse scores are unaffected.
Can I customize the look of the chat window?
Yes. Colors, logo, greeting text, and bubble position are all adjustable. Professional-tier plans typically support full white-labeling — visitors see no third-party branding at all.
Will it work on mobile for visitors?
The visitor-side widget is fully compatible with mobile browsers, no extra configuration needed. Most platforms also have a companion mobile app for agents so you don't miss messages.
Can I use one account on multiple websites?
It depends on the plan. Some platforms support multi-domain deployment with traffic tracked by source. If you manage multiple brands or sites, confirm domain limits before buying.
Can I export conversation data?
Reputable platforms support exporting conversation history as Excel or CSV, including content, visitor information, and timestamps — for analytics and compliance archiving.
Follow the steps in this guide and you'll be live in under 5 minutes. Qiabot provides a universal JavaScript embed snippet compatible with all major website builders. Sign up with your email — no credentials required — and go live today.